How To Choose Between Roof Replacement Vs Repair
Elisa DeFoe • June 23, 2025
You spot a water stain on your ceiling or find scattered shingles in your yard after a Colorado hailstorm. Suddenly, you’re facing a decision that affects not just your home’s value, but your peace of mind: should you patch up the damage or invest in a brand-new roof? The choice between roof replacement vs repair isn’t always straightforward—especially along Colorado’s Front Range, where hail and wind test the limits of every home’s protection.
Choosing the right path is about more than fixing what’s broken. It’s about weighing the risks of another storm, understanding your roof’s true condition, and making a choice that’s smart for your budget and your family’s safety. This guide is designed to walk you through each step of that process. From identifying hidden damage and considering insurance claims, to understanding the benefits of a free professional roof assessment, you’ll gain the clarity you need to make an informed, confident decision.
If you’re ready to take the guesswork out of protecting your home, let’s break down what you need to know before you climb the ladder or sign a contract.
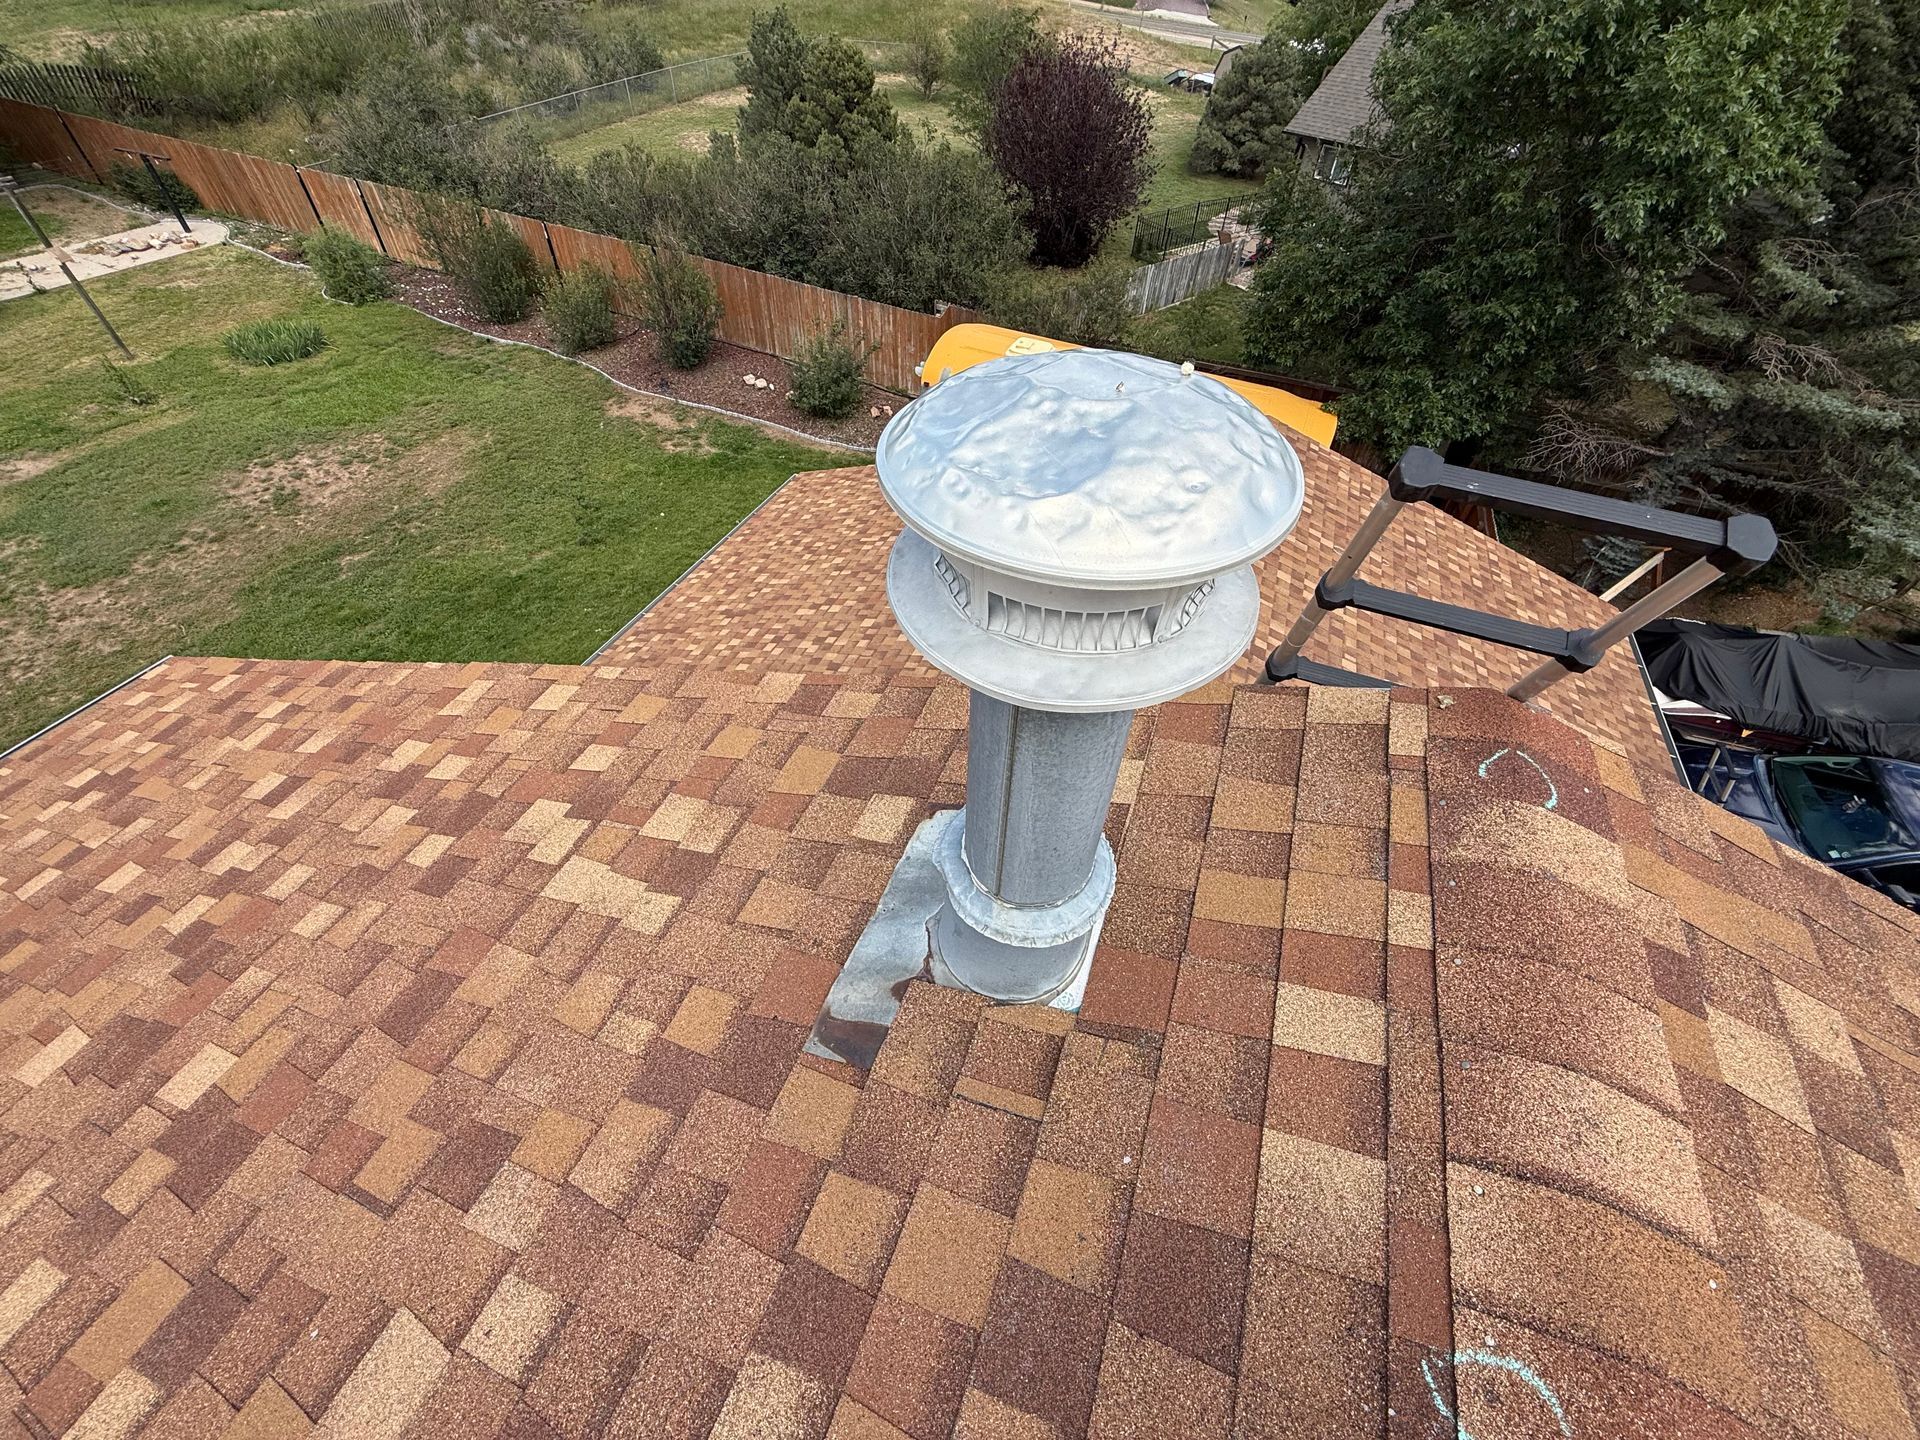
Step 1: Schedule a Free Roof Assessment and Inspection
Before you decide whether to repair or replace, start with a clear picture of your roof’s health. A professional inspection uncovers hidden issues that DIY checks often miss. By booking a complimentary evaluation early, you’ll arm yourself with the facts needed to compare repair vs replacement and avoid costly surprises down the road. Many reputable contractors—including Semper Fi Restoration—offer no-obligation, free roof assessments, so you can get expert insight without committing to a project.
How to Inspect Your Roof Safely
You don’t have to wait for a contractor to identify obvious trouble spots. A quick, safe DIY walk-around helps you note visible damage before the pros arrive. Keep these safety tips in mind:
- Use binoculars from ground level to avoid unnecessary climbs
- If you do use a ladder, choose one that’s firmly placed and on level ground
- Wear non-slip shoes and, if you venture onto your roof, a safety harness or roof anchor
- Work with a partner who can hold the ladder and alert you to hazards
As you survey the surface, check off these common issues:
- Loose, cracked, or missing shingles
- Sagging areas around valleys or roof edges
- Curling or cupped shingle corners
- Bare patches with granule loss
- Damaged or rusted flashing around vents and chimneys
What to Expect from a Professional Assessment
When a skilled inspector steps onto your property, they’ll follow a systematic process to gauge every detail:
- Exterior scan of shingles, flashing, gutters, and vents
- Attic inspection for water stains, mold, and insulation damage
- Moisture meter readings or thermal imaging to detect hidden leaks
- Evaluation of roof decking, underlayment, and ventilation
Within a day or two, you’ll receive a written report that includes:
- High-resolution photos or video of identified damage
- Notes on material condition and estimated remaining lifespan
- Line-item cost estimates for repairs and replacement options
- Recommendations for next steps, including possible warranty coverage
Leveraging Semper Fi Restoration’s Free Inspection Service
Semper Fi Restoration brings military-grade precision and integrity to every roof assessment, drawing on Marine Corps values to deliver thorough, honest feedback. Their veteran-owned team conducts complimentary, no-obligation inspections and provides a detailed report you can trust—from documented damage to transparent cost breakdowns. Scheduling is easy, and whether you choose repairs or a full replacement, you’ll have a solid plan in hand before making a financial commitment.
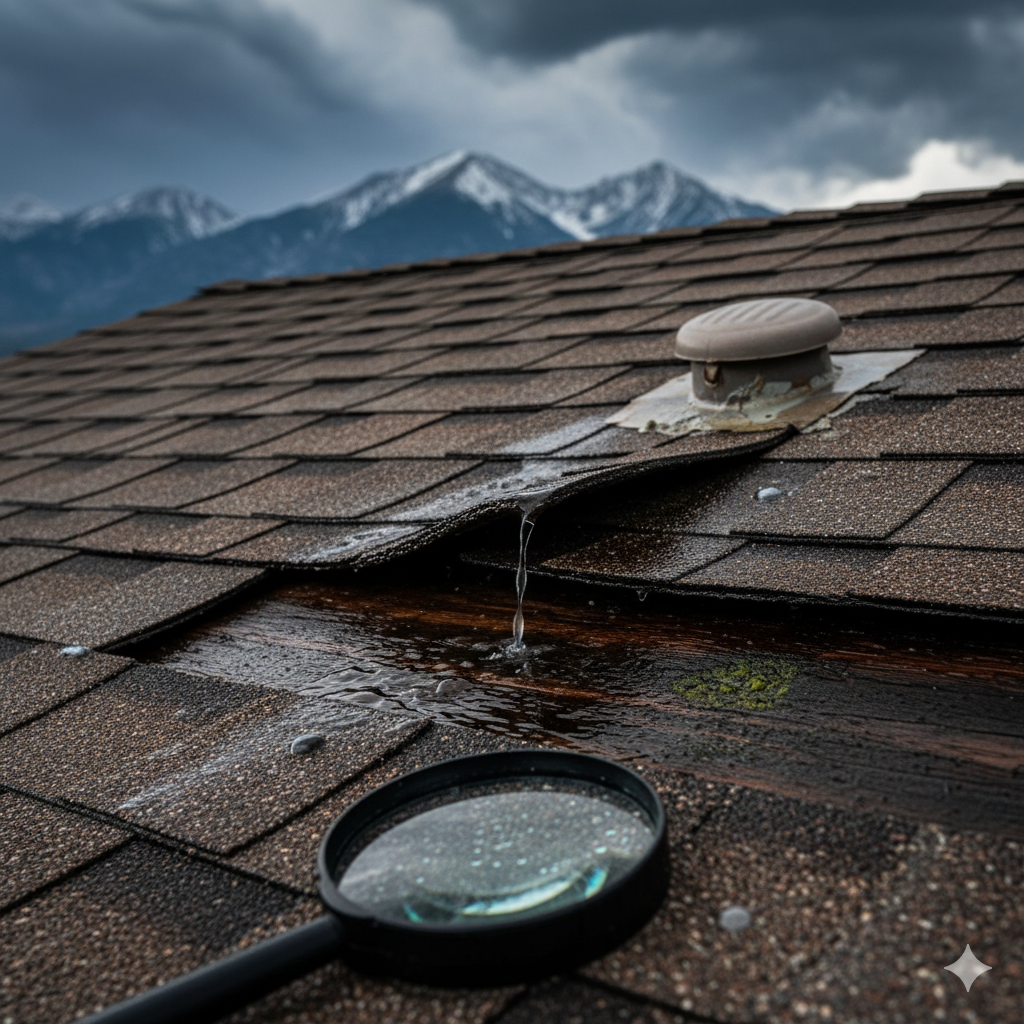
Step 2: Document and Evaluate Visible Roof Damage
Once you’ve completed a basic inspection or had a pro on-site, it’s time to catalog every sign of trouble. Thorough documentation helps you—and any contractor or insurer—understand the full scope of damage before you weigh roof replacement vs repair. In this step, you’ll learn how to spot the most common issues, capture them effectively, and translate what you find into a repair or replacement decision.
Identifying Common Signs of Roof Damage
Visual clues on the roof’s surface often tell the first part of the story. Watch for:
- Cracked or missing shingles: Gaps in coverage let moisture in.
- Curled, cupped, or blistered edges: Aging or hail impact can warp shingle corners.
- Bare spots and granule loss: When shingles shed their protective grit, UV rays and water can accelerate deterioration.
- Damaged flashing or rust: Look around chimneys, vents, and skylights for split seals or corrosion.
Don’t forget the interior. Leaks often reveal themselves inside your attic or on ceiling and wall surfaces. Check for:
- Yellow or brown water stains
- Active drips or damp insulation
- Mold or mildew growth near roof penetrations
Pairing external and internal observations paints a clear picture of where—and how badly—your roof is failing.
Using Photo Documentation and Checklists
Photos are your best friend when it comes to clear, objective records. Aim to:
- Shoot each issue from at least two angles (wide shot + close-up).
- Include a date stamp or marker (your phone’s metadata usually does this automatically).
- Capture surrounding roof features (flashing, vents, gutters) for context.
To keep yourself organized, try this simple checklist template:
- Date:
- Location on roof:(e.g., northwest slope, valley)
- Damage type:(shingle crack, granule loss, flashing split)
- Severity (1–5):
You can record entries in a notebook, spreadsheet, or take notes right on printed photos. A solid archive makes it easier to compare changes over time—and gives contractors or insurers exactly what they need to move forward.
Matching Damage Extent to Repair vs Replacement
Not all roof damage carries the same weight. Use these examples to guide your decision:
-
Isolated shingle damage
If you have a handful of cracked or missing shingles—say, fewer than a dozen scattered in one area—targeted repairs will often do the trick. Replacing those shingles and sealing the surrounding flashing can restore your roof’s integrity at a fraction of the cost of a full re-roof. -
Widespread granule loss or decking rot
When granule shedding covers 20% or more of the roof surface, or if moisture has soft spots in the decking, you’re likely facing systemic issues. Multiple leaks, sagging sheathing, and interior mold all point toward a replacement. At that stage, patching would be a temporary fix that could end up costing you more in the long run.
By plotting damage type, location, and severity side by side, you’ll clearly see whether a repair suffices or if replacement is the smarter long-term investment.
Step 3: Understand Your Roof’s Age, Material, and Remaining Lifespan
Knowing how old your roof is and what it’s made of lays the groundwork for deciding if repairs are worth the investment—or if a full replacement makes more sense. Different materials age at different rates, and warranties can affect both cost and timing. By calculating your roof’s remaining life, you’ll see clearly whether you’ve got a decade of protection left or if you’re approaching the end of the line.
Typical Lifespan by Roofing Material
Here’s a quick look at how long common roofing materials tend to last under normal conditions:
| Material | Typical Lifespan |
|---|---|
| Asphalt Shingles | 20–30 years |
| Metal Roofing | 40–70 years |
| Tile or Slate Roofing | 50+ years |
These figures assume proper installation and routine maintenance. Harsh weather, poor ventilation, or skipped inspections can shave years off any roof’s expected life.
Warranty and Manufacturer Guidelines
Before you lean toward repair, pull out your original documentation and note what’s still covered:
- Material Warranty: Usually covers manufacturing defects—granule loss on shingles, cracking on tiles, or corrosion on metal.
- Workmanship Warranty: Often provided by the installer, this protects against improper nailing, flashing mistakes, or underlayment issues.
Read the fine print to understand:
- Coverage duration (some shingle warranties stretch beyond 25 years; others drop off after a decade).
- What’s excluded (wind damage, hail, or lack of maintenance might void parts of the warranty).
- Required upkeep (manufacturers often stipulate periodic inspections or gutter cleaning).
Observing these guidelines can save you from unexpected out-of-pocket costs—and might tip the scales toward a repair if major coverage remains.
Calculating Remaining Useful Life
To put a number on how many years you’ve got left, use this simple formula:
Remaining Life = Expected Lifespan – Current Age
For example:
- An asphalt shingle roof installed 10 years ago with an expected life of 25 years still has about 15 years remaining.
- A metal roof that’s 35 years old with a 60-year lifespan would show roughly 25 years left.
- If your tile roof is 55 years old and rated for 50 years, it’s already past its useful life, making replacement nearly inevitable.
Knowing exactly where you stand helps you weigh repair costs against the value of a fresh, fully warranted roof system—ensuring you won’t be caught off guard when the next big storm rolls in.
Step 4: Assess the Extent of Hail and Storm Damage in Your Area
Colorado’s unpredictable skies can turn a clear afternoon into a hailstorm within minutes. If you live along the Front Range—sometimes called “Hail Alley”—your roof has likely taken a beating over the years. Before you decide on repair or replacement, it’s essential to understand how often hail and high winds strike, and how those forces manifest as damage on your shingles, underlayment, and flashing. By assessing local storm patterns and recognizing the tell-tale signs of impact, you can make an informed call about what your roof really needs.
Colorado’s Hail Alley: Frequency and Severity
Northeastern Colorado consistently ranks among the nation’s top regions for hail events. According to the NOAA climate summary, you can expect:
- Approximately 7–9 hail days each year
- A higher risk of quarter- to golf-ball-sized hail from late spring through mid-summer
These statistics underscore why routine inspections are vital here. Even if your roof looks intact after a storm, microscopic fractures in the shingle surface can evolve into leaks and rot over time. Knowing the average number of hail days in your neighborhood helps you plan inspections—and build a proactive maintenance schedule—rather than waiting for visible leaks to appear.
Recognizing Hail Impact on Roofing Components
Hail damage often mimics general wear and tear, but there are key differences you can spot:
- Pockmarks or dents on shingle granules (hail) vs. smooth granule loss from UV exposure (wear)
- Bruising under the surface, which may not be visible unless you remove individual shingles
- Torn or displaced underlayment showing dark streaks or moisture lines
- Damaged flashing with split seals or bent metal edges
Compare those hail-specific signs against normal aging: cracking from thermal cycling, algae growth in shaded areas, or discoloration along roof valleys. The more you can distinguish between storm damage and routine degradation, the more precise your repair vs replacement decision will be.
Evaluating Ongoing Weather Risks
Colorado’s weather can turn on a dime, and one bad storm doesn’t always mean you should replace a roof outright—but repeated impacts can. To stay ahead of the curve:
- Review local storm history through community weather databases or apps.
- Sign up for severe weather alerts via the National Weather Service or your favorite storm-tracking tool.
- Keep an eye on upcoming models during hail season (May–August) so you can arrange inspections right after major events.
By mapping both past and potential future damage, you’ll know whether a quick patch is enough or if it’s time for a full system upgrade—ensuring your home remains protected from Colorado’s next onslaught.
Step 5: Identify Short-Term Repairs vs Long-Term Replacement Benefits
When your roof shows wear or damage, it’s tempting to choose the quick fix and get back to normal life. But a repair that seems economical today might lead to bigger headaches down the road. In this step, you’ll see how short-term patching stacks up against the advantages of a full replacement. By weighing immediate costs, project timelines, and long-term performance, you can decide which path protects your home and wallet best.
Pros and Cons of Roof Repair
Roof repairs can be an effective way to extend your roof’s life when damage is minor or isolated.
Pros:
- Lower upfront cost—often under a few thousand dollars
- Fast turnaround—most repairs finish in a day or two
- Minimal disruption—no major scaffolding or extensive tear-off
Cons:
- Underlying issues may remain hidden, leading to repeat fixes
- Shorter warranty coverage compared to a full replacement
- Repair costs can accumulate, eventually matching replacement prices
Pros and Cons of Full Roof Replacement
A complete reroof delivers a fresh start, but it comes with a higher price tag and longer timeline.
Pros:
- Brand-new warranty on materials and workmanship
- Improved energy efficiency with modern underlayment and ventilation
- Enhanced curb appeal and potential boost in home value
- One-and-done solution that eliminates frequent call-backs
Cons:
- Higher initial investment—typically several times the cost of a repair
- Project can take several days to complete, depending on complexity
- Greater disruption to landscaping, gutters, and roof-mounted equipment
When Temporary Fixes Become Costly
Patching a handful of missing shingles or sealing a small leak may feel like an easy win, but if you find yourself calling the roofer every season, repair expenses add up fast. For example, three separate repairs over five years—each averaging $1,200—total $3,600. By comparison, a new asphalt shingle roof on a 2,000 sq ft home might run $8,000–$10,000 all in. Beyond price, frequent repairs can leave you vulnerable to hidden water damage, mold growth, and structural decay.
If you notice:
- Recurring leaks in the same valley or flashing
- Increasing scope of granule loss across multiple slopes
- Patches that don’t blend or seal properly
…it’s often more cost-effective to invest in a full replacement. You’ll gain long-term peace of mind, tighter warranties, and, in many cases, lower lifetime costs than chasing temporary fixes.
Step 6: Calculate Repair and Replacement Costs
Budgeting for roof work means looking beyond initial quotes to compare true long-term value. By breaking down typical repair ranges and replacement price points for different materials, you’ll know what to expect—and how to plan.
Estimating Repair Costs by Damage Severity
Roof repair costs vary based on how much labor and materials are needed. Here’s a general guide:
-
Minor repairs ($200–$1,500):
Fixing a few missing or cracked shingles, replacing small sections of flashing, or sealing isolated leaks. -
Moderate repairs ($1,500–$5,000):
Addressing multiple damaged areas, repairing underlayment in several spots, or replacing one side of the roof. -
Major repairs ($5,000–$10,000):
Partial re-roofing projects, extensive decking or underlayment work, or tackling widespread storm damage without a full tear-off.
Use these figures to gauge whether a proposed repair scope fits your budget—or if repeated medium or major repairs would approach replacement-level costs.
Sample Cost Breakdown by Material (2000 Sq Ft Roof)
| Material | Cost per sq ft | Total Cost (2,000 sq ft) |
|---|---|---|
| Asphalt Shingles | ~$4 | ~$8,000 |
| Standing-Seam Metal | ~$8 | ~$16,000 |
| Slate or Tile | ~$15 | ~$30,000+ |
These numbers reflect average ranges and can shift based on roof complexity, pitch, and contractor rates in the Denver area. Adjust accordingly to match your local market and the specific details of your home.
When a $30,000 Roof Is Reasonable
A $30,000 price tag might seem steep, but there are scenarios where it’s entirely warranted:
- High-end materials like natural slate, clay tile, or copper
- Steep or multi-angled roofs that require extra safety equipment and labor
- Historic homes or specialty installations demanding custom craftsmanship
To learn more about how material choice, roof geometry, and finish details drive costs, see this deep dive on the cost of a new roof.
Using Online Tools for Accurate Quotes
Online calculators can fast-track your initial budgeting. Tools like RoofingCalculator.com let you plug in square footage, material type, and local labor rates for a rough estimate. Remember, these figures are starting points—always follow up with at least three on-site bids to account for hidden conditions, permit fees, and cleanup costs.
Step 7: Review Insurance Coverage and Claim Assistance
Navigating insurance can feel like a second full-time job—especially when you’re already dealing with storm-related stress and roof damage. Before you commit to repairs or replacement out of pocket, take a close look at your homeowner’s policy. Understanding the fine print and getting help with the claims process can save you thousands, and that’s where expert guidance makes all the difference.
Determining Coverage for Repairs vs Replacement
Most policies fall into two buckets:
-
Actual Cash Value (ACV):
Pays the depreciated value of your existing roof. If your shingles are halfway through a 25-year lifespan, you might receive roughly half the replacement cost, minus your deductible. -
Replacement Cost Value (RCV):
Covers the full cost to install a new roof—again, minus the deductible—without accounting for depreciation.
Keep in mind that insurers typically require proof of storm damage—hail dents, wind-lifted shingles, or water intrusion—to trigger a claim. That’s why detailed photos and a professional damage report (from someone like Semper Fi Restoration) are so important: they back up your request for full replacement coverage instead of a small repair allowance.
Filing a Claim for Storm and Hail Damage
A smooth claims process follows a clear checklist. Here’s a simplified workflow:
-
Document Everything:
Use your photo log, date-stamped images, and the written inspection report to show the extent and cause of damage. -
Contact Your Insurer Promptly:
Most policies have claim deadlines. Call your agent or file online as soon as possible after the storm. -
Schedule the Insurance Adjuster:
Coordinate a time for the adjuster to walk the roof alongside your contractor. Side-by-side inspections reduce misunderstandings. -
Compare Reports:
Line up the adjuster’s assessment and the contractor’s estimate. If items are missing or undervalued, you can submit supplemental documentation. -
Avoid Common Pitfalls:
- Missing filing deadlines
- Hand-written or low-quality photos that don’t clearly show damage
- Failing to follow up on delayed responses
By staying organized and proactive, you’ll avoid surprises and keep the claim moving smoothly.
How Semper Fi Restoration Simplifies Insurance Claims
Semper Fi Restoration takes the headache out of paperwork and phone calls by offering hands-on claim assistance:
- They prepare and submit detailed, line-item estimates that align with your insurer’s requirements.
- They coordinate directly with adjusters, scheduling inspections at times you choose.
- They handle all the necessary forms and follow-up communications, cutting through the red tape so you don’t have to.
This veteran-owned team leverages Marine-inspired precision and discipline to streamline your claim, reduce stress, and accelerate settlement—so you can focus on what matters most: restoring your home, not wrangling paperwork.
Step 8: Consider Environmental and Regulatory Factors
Roofing projects don’t just affect your home’s curb appeal—they also create waste streams and must comply with federal regulations. By understanding key environmental requirements and embracing eco-friendly practices, you can minimize your carbon footprint and even qualify for incentives. In this step, we’ll cover regulatory guidelines for asphalt roofing, best practices for disposing and recycling materials, and green options that reduce environmental impact.
EPA Effluent Guidelines for Asphalt Roofing Materials
Manufacturers of asphalt roofing shingles and related products must manage wastewater under the EPA’s effluent guidelines. The regulation—known formally as 40 CFR Part 443
—sets limits on contaminants discharged from production facilities. Key points include:
- Process wastewater from washes, rinses, and equipment cleanup must pass through treatment systems before entering sewers or surface water.
- Pollutant limits address oil and grease, total suspended solids, and pH levels.
- Periodic monitoring and record-keeping ensure ongoing compliance and protect nearby waterways.
Roofers themselves don’t install these control systems, but being aware of the rule underscores the industry’s push toward cleaner manufacturing. For full details, see the EPA Effluent Guidelines for Paving and Roofing Materials.
Best Practices for Disposal and Recycling Materials
When it’s time to tear off an old roof, you can keep debris out of landfills by following these guidelines:
- Separate recyclable shingles from mixed waste on-site. Asphalt shingles can often be recycled into road asphalt or pavement underlayment.
- Use a certified waste hauler familiar with local recycling centers. In Colorado, many facilities accept clean asphalt shingle loads, sometimes for a small tipping fee.
- Salvage undamaged flashing, vents, and fasteners for reuse or scrap metal recycling.
- Bundle materials tightly in roll-off containers to reduce dust and spillage during transport.
By sorting and delivering materials properly, you’ll help conserve natural resources, lower disposal costs, and support Colorado’s growing green-building infrastructure.
Choosing Eco-Friendly Roofing Options
Beyond recycling, you can lower your home’s environmental impact by selecting sustainable roofing systems:
- High recycled content shingles: Some manufacturers offer asphalt shingles made with up to 25% recycled glass or rubber.
- Cool-roof coatings: Reflective granules or elastomeric coatings reduce heat absorption, cutting your cooling bills by up to 20%.
- Biodegradable underlayment: Organic, felt-based underlayments break down naturally, unlike synthetic options that can persist in landfills.
- Metal roofs with recycled steel: Metal panels often contain 30–60% recycled material and can be recycled again at end of life.
Many municipalities and utility companies provide rebates or tax credits for energy-efficient roofing choices. Ask your contractor about available programs—opting for a greener roof can save you money in the long run while protecting the planet.
Step 9: Consult with Trusted Roofing Professionals and Compare Estimates
With a clear understanding of your roof’s needs and a solid budget in place, the next step is finding the right team to bring your project to life. Don’t rush this phase—choosing an experienced, reliable contractor can be the difference between a smooth installation and expensive headaches. Start by researching local roofing pros, checking credentials, and gathering multiple bids so you can compare apples to apples. A thorough vetting process ensures you partner with someone who values quality, communication, and the long-term health of your home.
Once you’ve narrowed down your list, it’s time to line up detailed estimates and ask the tough questions. Pay attention not only to the bottom-line price but to how each contractor structures their proposal: Are labor and materials clearly spelled out? Do they offer looming warranties on both workmanship and shingles? When quotes arrive, compare them side by side, making note of any gaps or extras—this transparency will pay dividends when the project kicks off.
Qualities to Look for in a Roofing Contractor
A solid contractor will bring more than a trailer full of shingles. Look for:
- License and Insurance Verification: Confirm they carry both general liability and workers’ comp.
- Proven Local Track Record: Read recent customer reviews and ask for references from similar Colorado projects.
- Veteran-Owned Status and Work Ethic: Semper Fi Restoration, for example, builds on Marine Corps values like integrity and precision—an extra layer of confidence in performance.
Comparing Multiple Bids and Warranties
Never settle for the first number you see. To make an informed choice:
- Obtain At Least Three Detailed Quotes: This gives you a real sense of market rates and keeps contractors competitive.
- Break Down Line Items: Compare materials, labor, disposal fees, cleanup, and permit costs.
- Scrutinize Warranty Terms: Look for separate coverage on shingles (manufacturer’s warranty) and installation (workmanship warranty). Longer warranties often indicate confidence in quality.
Key Questions to Ask Before Hiring
Before you shake hands on a contract, clarify every detail. Don’t be shy—this is your home they’ll be working on:
- What exactly is included in the scope of work and cleanup?
- Which brands and grades of materials will you use, and why?
- Can you provide a project timeline, including start date, major milestones, and completion?
- How does your payment schedule work, and what are your accepted methods?
- Will you handle all necessary permits and schedule inspections with the city or county?
By doing your homework and comparing bids line by line, you’ll end up with a roofing partner who stands behind their work—giving you peace of mind and a sturdy, long-lasting roof overhead.
Step 10: Weigh Pros and Cons and Make Your Final Decision
Deciding between a repair or a full roof replacement can feel like walking a tightrope: you want to choose wisely without tipping too far one way. By this point, you’ve assessed damage, gathered quotes, and reviewed insurance details. Now it’s time to bring everything together in a structured way. A clear framework can turn a swirl of numbers and opinions into a confident choice, leaving you ready to move forward.
Creating a Cost-Benefit Analysis Framework
Start by drawing a simple table on paper or in a spreadsheet with columns for “Pros,” “Cons,” “Costs,” and “Benefits.” Under each header, list what you’ve learned: the lower upfront price of repairs under “Pros,” the limited remaining lifespan under “Cons,” and so on.
Next, assign each item a weight—perhaps a score from 1 to 5—based on how important it is to your household priorities: budget constraints, long-term durability, or curb appeal. Multiply each item’s weight by a simple score (for instance, +1 for pros and –1 for cons) to get a weighted total.
This method helps you see, at a glance, whether repairs or replacement carries the higher overall value. It also keeps emotions in check by focusing on data rather than the stress of the decision.
Checklist for Making the Repair vs Replacement Choice
With your weighted analysis in hand, run it through a quick checklist:
- Durable remaining life > 10 years?
- Insurance covers a significant portion (70% or more) of replacement costs?
- Repair cost < 50% of replacement cost?
- Desire for a fresh warranty or style upgrade?
If you check off most of these for a replacement, you’re probably better off reroofing. If repairs score high in cost-effectiveness and your roof still has solid years ahead, patching things up could be the way to go.
Setting a Timeline and Preparing for Work
Finally, get realistic about scheduling. Repairs usually wrap up in 1–3 days, from tear-off to cleanup. A full replacement can take 3–7 days, plus lead time for permits and material deliveries.
Once you’ve locked in dates, streamline the project by moving vehicles out of the driveway, turning off attic fans, and putting away outdoor furniture. Discuss noise levels and debris containment with your contractor, and give your neighbors a heads-up so everyone stays on the same page.
By lining up your timeline, pre-packing around the house, and staying in close touch with your roofing pro, you’ll set the stage for a smooth, stress-free project—whether you’re sealing a few shingles or crowning your home with a brand-new roof.
Taking Action on Your Roof Decision
You’ve walked through each step—from a detailed inspection and comprehensive damage documentation to weighing costs, warranties, and local weather risks. Now it’s time to turn that knowledge into action. By combining a professional assessment with clear photo records and accurate cost estimates, you’ve built a rock-solid foundation for choosing either a targeted repair or a full replacement.
Before you commit, revisit the core insights:
- Start with a free, no-obligation roof assessment to catch hidden damage.
- Match repair scopes or replacement plans to your roof’s age, material lifespan, and hail-storm history.
- Compare multiple bids, review warranties, and understand your insurance coverage.
- Factor in environmental best practices and local regulations to keep costs—and your carbon footprint—under control.
- Use a simple cost-benefit matrix to make the final call.
With these elements in place, you can move forward confidently and protect your home against Colorado’s unpredictable storms. Semper Fi Restoration’s veteran-owned team stands ready to guide you, offering meticulous inspections, insurance claim support, and expert installations rooted in Marine Corps values of integrity and precision.
Ready to take the next step? Visit Semper Fi Restoration to schedule your complimentary roof assessment or start your insurance claim process today: semperfirestoration.com.
We'd love to do a complimentary roofing assessment for you!